Sunday, October 7, 2018

Unforgetful - Envelope Card

Hello friends,
Hope all doing well!!

I am here again with simple but elegant "Unforgetful" envelope card.. I know all of us have lots of moments in our life that can not be forget and of which memories are cherished forever. So for such occassions, the best way to gift someone to make their moments wonderful and unforgetful I designed this envelope. This time I am presenting you pictorial tutorial for the same....
What I have used:
  • Cardstock ( of any color here I have used purple)
  • Patterned paper ( papericios)
  • Embellishments
  • Lace
  • flowers ( any but I have used here handmade paper flower made by me)
  • Heartfelt leaves ( from classic rose die set)
Here is glimpse of final envelope:


Let's start with tutorial:

After scoring as shown above now it's time to add pattern paper. 

But before attaching pattern paper in front flap and back flap, just add lace for closure of envelope. Then comes the time to show your creativity, First of all gather all the embellishments and then starting setting. 

Inner view of the envelope is as follows:


After pasting all the embellishments, your envelope card is ready!! Isn't it simple.. Hope you all like the tutorial and this envelope card..


Thanks for stopping by!!
I am adding this project to the following changelles:


Monday, October 1, 2018

Easel card with drawer box

hello all..
Today I am back with one of my most liked art and that is nothing but PAPER CRAFT!! Yes, today I will present you a beautiful easel card with a drawer box. And I am sure you will all love that (fingers crossed)!! Here is glimpse of my today's project:


Moving on, I will try to share with you how I make this with brief steps done and also list of supplies used. So, let's begin:
Supplies Used:
Black Cardstock ( Prika's)
Brown Cardstock ( Prika's)
Patterned Paper (Papericious)
Hanging metal Charm
Few die cuts and embellishments
Embossing paste (Itsy Bitsy)

Now after gathering all the products to be use, we will start the process for making this project:


A.   First of all, I cut the cardstock in required measurements. I am providing you the list and number         of cardstock to be cut.


For Making cover of drawer box:
  • Black Cardstock - two pieces of 7"X 81/2" ( score three sides at 1 1/2")
  • brown Cardstock - three pieces of 51/4" X 11/4" 
  • patterned paper - three pieces of 4 3/4" X 3/4"
  • Black Cardstock - 5" X 1"
       For Making Drawer:
  • Black cardstock - 8 1/4" X 8 1/4" ( score at 1 3/4" on all four sides)
  • Brown cardstock - 5 1/4" X 1 1/4"
  • Black Cardstock - 4 3/4" X 3/4"
  • Patterned Paper - 4 1/2" X 1/2"
       For Making Drawer Box top and bottom:
  • Black cardstock - two pieces of 6" X 6"
  • Brown cardstock - two pieces of 5 3/4" X 5 3/4"
      For Making Easel card base :
  • Black Cardstock - 5 1/2" X 11" ( score at 5 1/2" and then at 8 1/4")
     For Making Easel card Back: ( optional)
  • Brown Cardstock- two pieces of 5 1/4" X 2 1/2"
  • Patterned paper - two pieces of 5" X 2 1/4"
     For Making Card Bottom:
  • Patterned paper - one piece of 5 1/4" X 5 1/4"
     For Making Card Front:
  • Brown Cardstock - 5 1/4" X 5 1/4"
  • Black Cardstock - 5" X 5"
  • Patterned Paper - 4 3/4" X 4 3/4"
B. After cutting all the above mentioned paper and cardstock in the required measurements, we will         move towards creation. For that, first we will start from making the cover of the drawer and cut           after scoring the cardstock, cut the squares as shown in pictures below:


C. Now, for making the drawer, we will make cut on vertical lines till the horizontal line on both             sides and then glue it keeping the flaps inside.
D. After completing both drawer cover and box, it will look as follows:

E. For making easel card, we will take easel card base and decorate front as per your choice after             pasting brown cardstock and pattened paper on black cardstock. Here is my final look of the               project done by me:


Hope you all liked it!!
Your comments are quite valuable for me...
I am submitting this project for two ongoing challenges:


Wednesday, September 26, 2018

Mixed media Box!!

hello folks!!
a very good morning!!
Today I am going to present in front of you the most versatile art form - Mixed media.. I really loved it in both ways - the outcome and the process to make it!! Whatever comes in your mind just place it on the base and play with different layers of colors and textures and see what you gets!!
Here is the short pic tutorial of the altered box I made using mixed media art form:

Supplies I used for this:


  • Wooden mdf small size box
  • Camlin Gesso (from Itsy Bitsy)
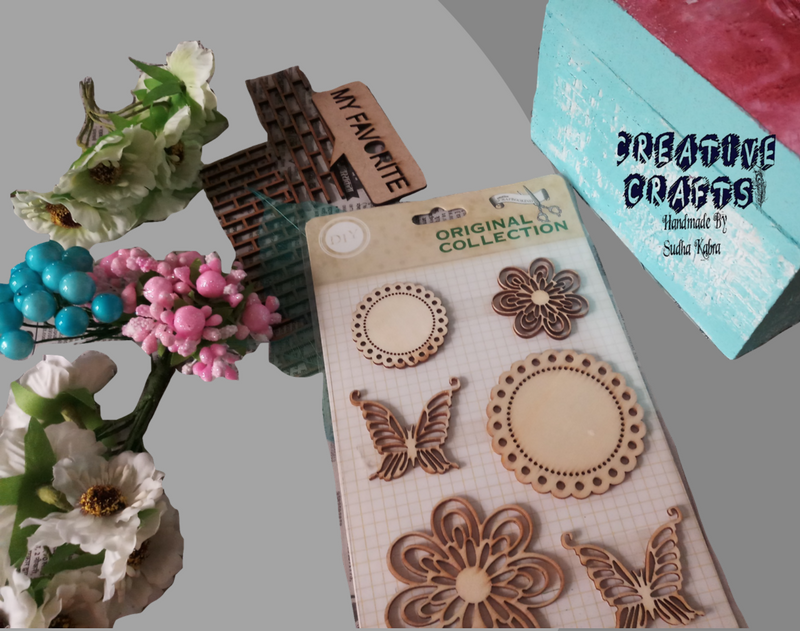
  • Different embellishments like Flowers, waste buttons, rings, etc..
  • Clear Drops
  • Brick chipboards (from Itsy Bitsy)
  • Textured paste
  • Texture tool (From Itsy Bitsy)
  • Embossing paste (Avocado Smoothie from Itsy Bitsy)
  • Color splash spray
  • Metallic colors

Now, Let's get started:


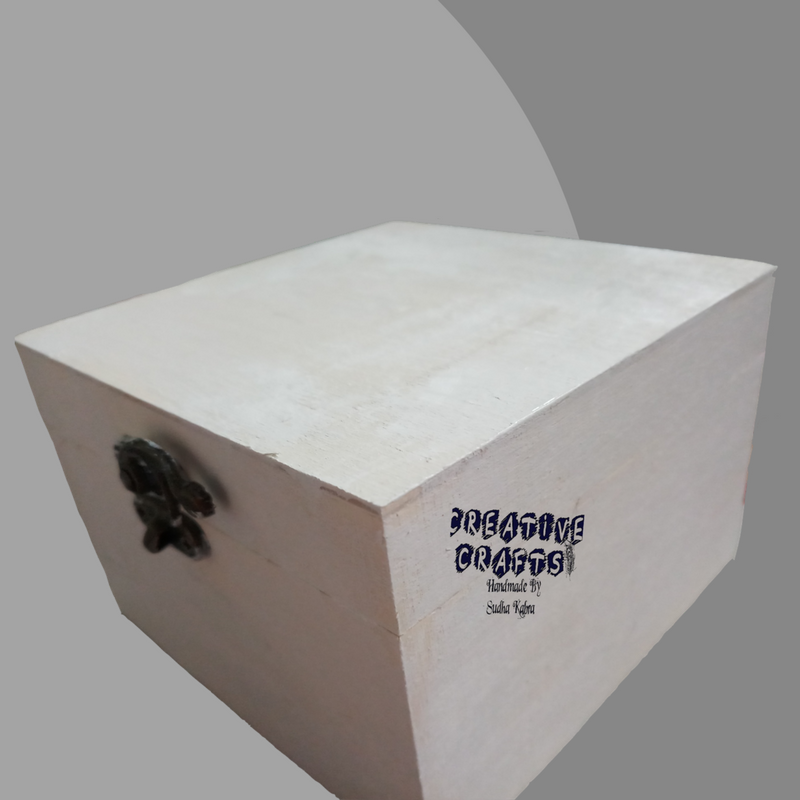
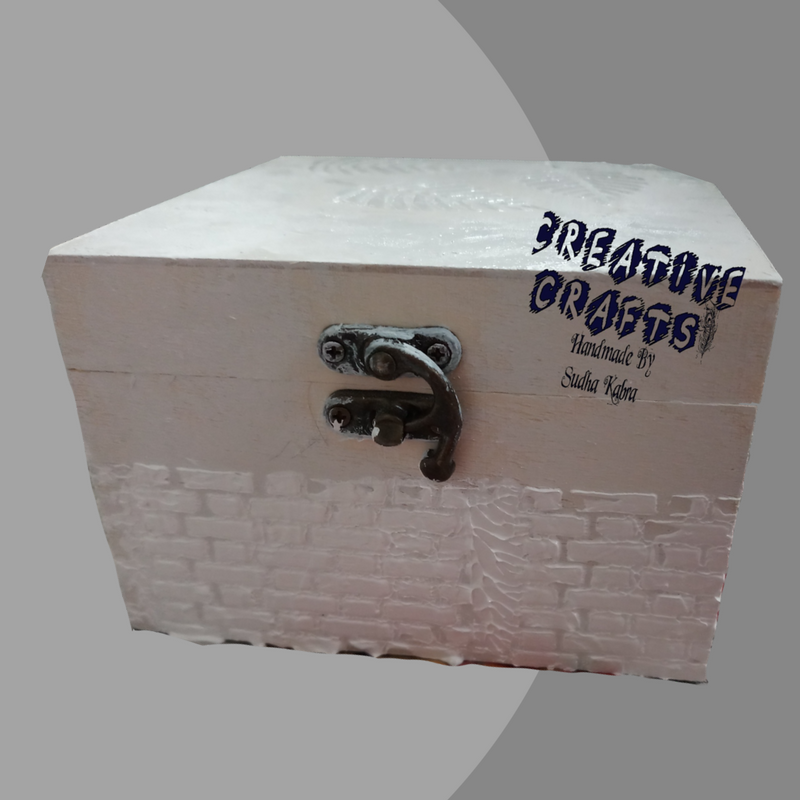
  • First of all I painted the entire box with gesso and then started give texture using texture tool and thick layer of texture paste and arrange the embellishments as per picture given below:
  • After getting completely satisfied, paint the complete box with black gesso. It will look like as below:
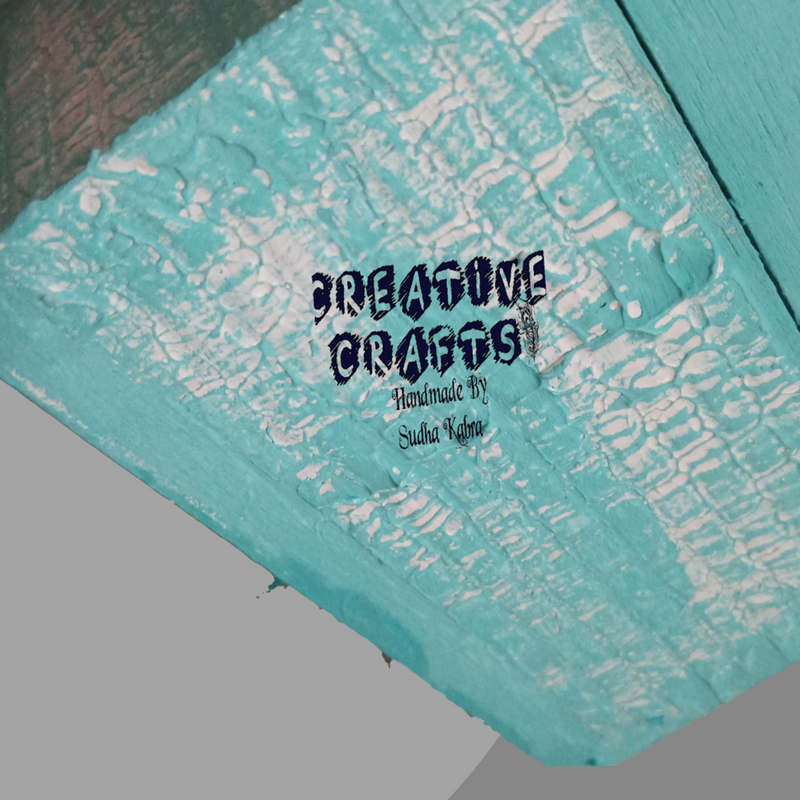
  • Now, the time has come to start with playing colors and keep on doing until you get the desired result!! Just have a look what I got after playing with different layers of colors and embossing paste for highlighting some corners of my art piece!!


Hope I have inspired you to create you something unique and different with this art!!
I am adding this art to the following challenges :


Friday, September 14, 2018

Mixed media altered box

Hi friends,
Hope all going well! 
I have created a mixed media altered wooden box and want to share with you complete process how I did this.. So here I am:

Here’s the steps to follow and make this altered box for personal or gifting purpose:

Materials Required:

#Gesso

#Texture paste

#Chalk Paints

#Pearl metallic Gold colour

#Distress Spray

#Colour Splash spray

#Glue Gun

#Stencil

#Wooden embellishments

#Flowers

#Sentiments

Let’s begin now when we have everything on place!

Step.1: To begin with coat the box completely with gesso. Gesso plays the main role in the mixed media technique as it works as the primer. After doing gesso coat, let it dry and in case you want to dry it quicker, heat tool becomes the best option.


Step.2: After gesso coat is dried, start adding texture with the use of stencil and texture paste. Again, wait for it to dry completely.


Step.3: Let’s begin with the colour part… for this you may use the sailing sky chalk paint. Coat the box with dry brush over the texture part and complete colour at the other part of the box. Inside the box, you may leave it as it is or you can prefer to colour the same.


Step.4: Assemble all the decorative to be added on the top of the box. Then, stick all of them in the way you prefer with the help of glue gun as its totally up to you to unleash your creativity and bring out the best. Glue gun is best option for sticking things instantly.


Step.5: Apply another coat of gesso on the complete arrangement and let it dry completely. Now comes the most interesting part and that is spraying the entire arrangement with the colour splash and distress spray. Apply as shown in images and let it dry.


Step.6: For the final touch-up, dry brush here and there with pearl metallic gold colour!!


See!! What comes in front of you after completion of all the steps!! Hope you all liked the tutorial and will sure love to try making this art…

Waiting for your valuable responses…

Paper box with vellum flowers

Hello friends,
Today I am feeling really wonderful to share with you one of the my favorite projects created by me -  A paper box with handmade vellum flowers!! this box serves well the purpose of gifting your loved ones by keeping something special in it. So lets get make it more clear with some pics...
For making this box, I gathered all the required materials like cardstocks, vellum sheets, patterned paper, hearfelt creations classic rose stamps and the coordinated die, some die cuts, clear drops crystal, etc...
At the very first, I created these vellum flowers which I like the most. This I prepared simply by die cutting the flowers and then colored the layers with versa ink. After coloring, I heat embossed the embossing powder by adding them with the help of any pointed needle in the desired way. After embossing part that is done with the help of heat gun, I started shaping the layers of the flower just by pinching the petals one by one. Then I placed the layer one on the other by adding glue in the center and here is the result!!
To create the box, I took complete help from the video published by the fellow crafter online and after creating basic box, I started decorating the box in the desired manner. For that I started placing all the embellishments in the beautiful and appealing manner..
Hope you all like this post..
thanks for stopping by
Sudha

Tuesday, February 13, 2018

Glossy fridge magnet

Hi all,
Here I am back with my new creation... Yes GLOSSY FRIDGE MAGNET!!
I have tried here to create unique with stamping, decoupaging and finally adding resin to it...
Without spending too much time, Here comes few pictures of my creation....


Hope you all liked it... please leave ur valuable comments!!!

Tuesday, February 6, 2018

Quilled wall clock


Quilling!! Love to make this art... here are few glimpse of my latest creation of quilling - QUILLED WALL CLOCK!!