Wednesday, September 26, 2018

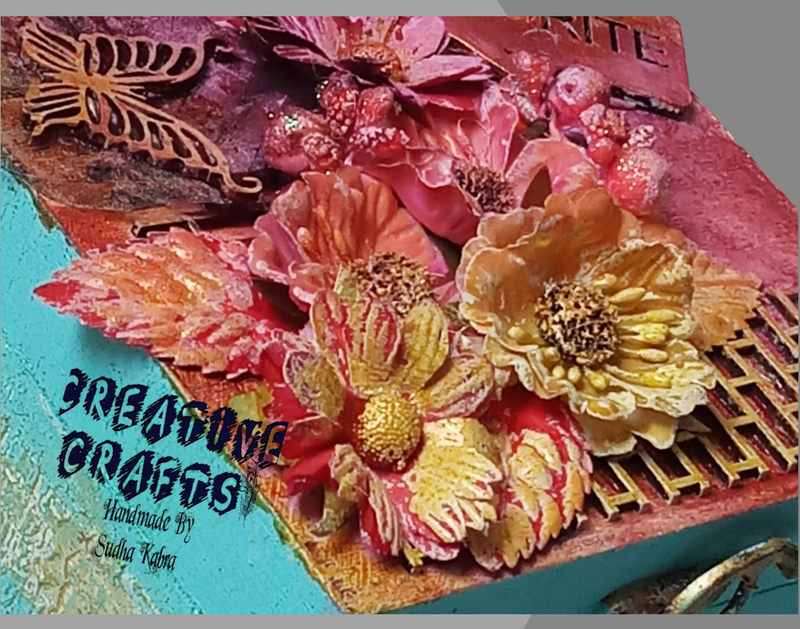
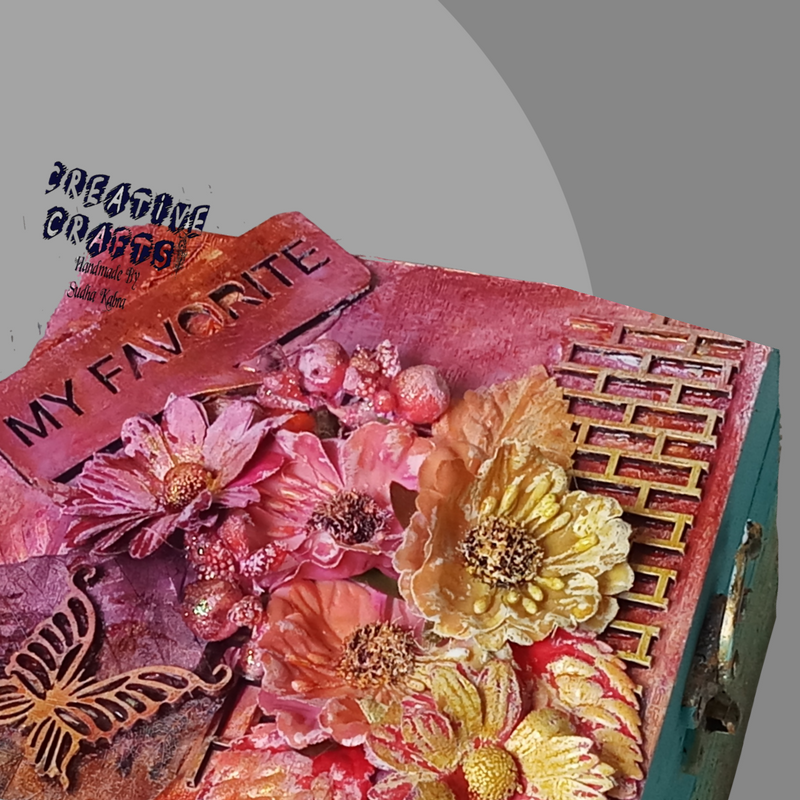
Mixed media Box!!

hello folks!!
a very good morning!!
Today I am going to present in front of you the most versatile art form - Mixed media.. I really loved it in both ways - the outcome and the process to make it!! Whatever comes in your mind just place it on the base and play with different layers of colors and textures and see what you gets!!
Here is the short pic tutorial of the altered box I made using mixed media art form:

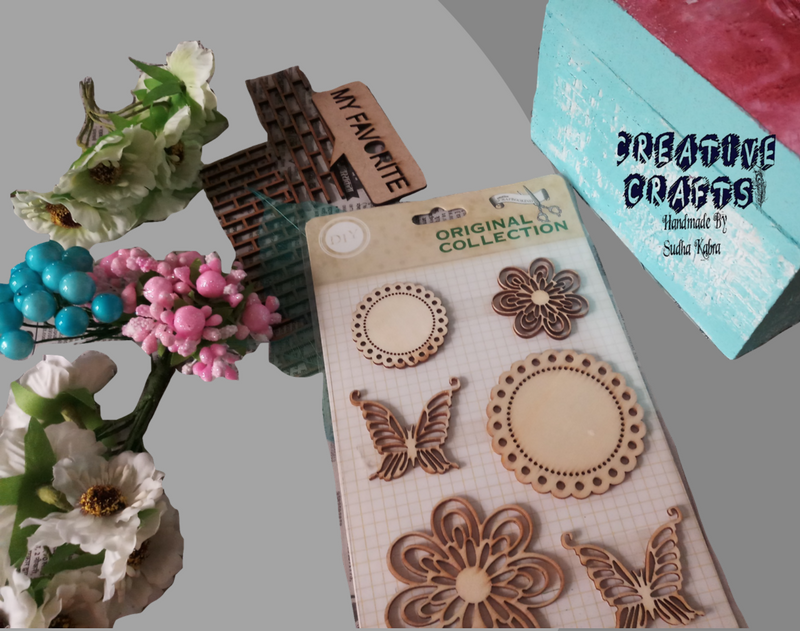
Supplies I used for this:


  • Wooden mdf small size box
  • Camlin Gesso (from Itsy Bitsy)
  • Different embellishments like Flowers, waste buttons, rings, etc..
  • Clear Drops
  • Brick chipboards (from Itsy Bitsy)
  • Textured paste
  • Texture tool (From Itsy Bitsy)
  • Embossing paste (Avocado Smoothie from Itsy Bitsy)
  • Color splash spray
  • Metallic colors

Now, Let's get started:


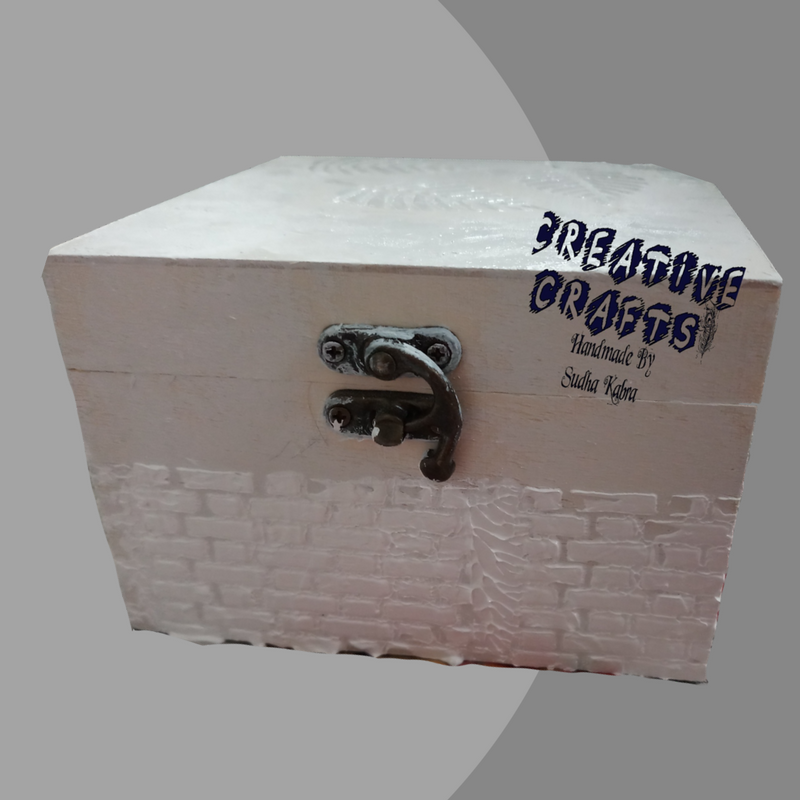
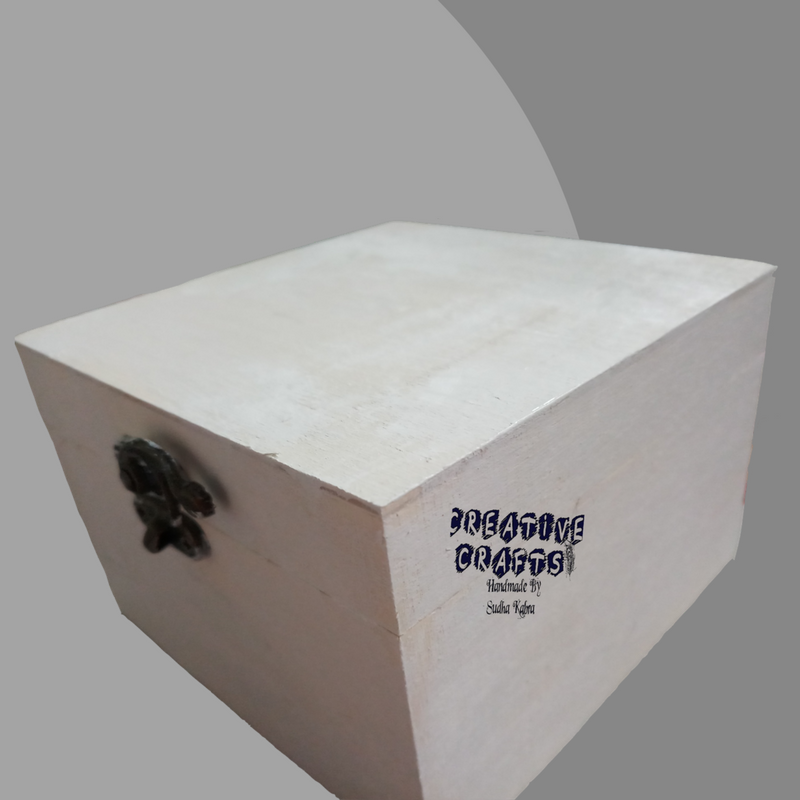
  • First of all I painted the entire box with gesso and then started give texture using texture tool and thick layer of texture paste and arrange the embellishments as per picture given below:
  • After getting completely satisfied, paint the complete box with black gesso. It will look like as below:
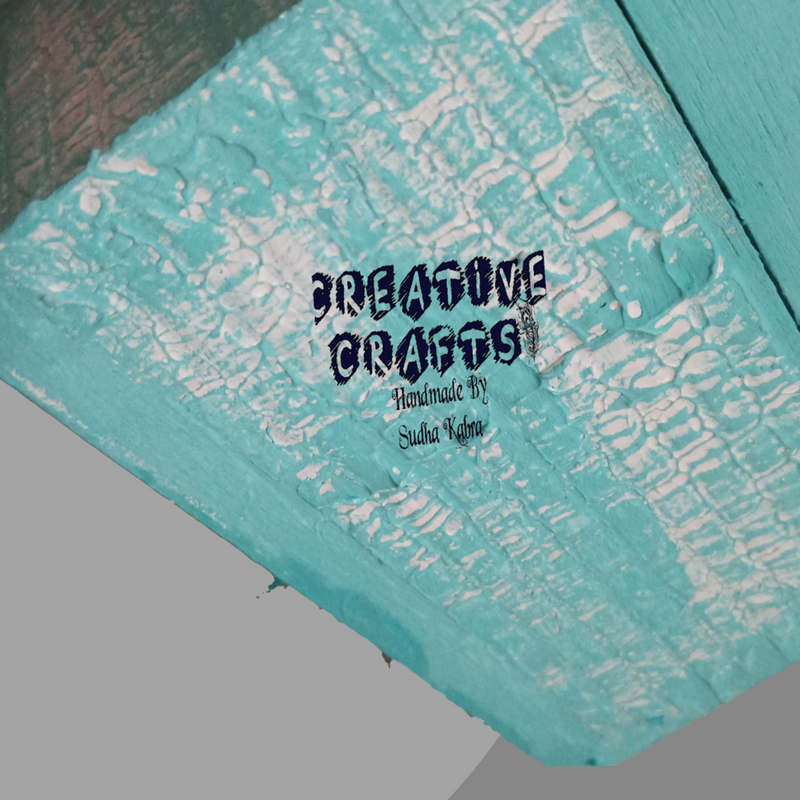
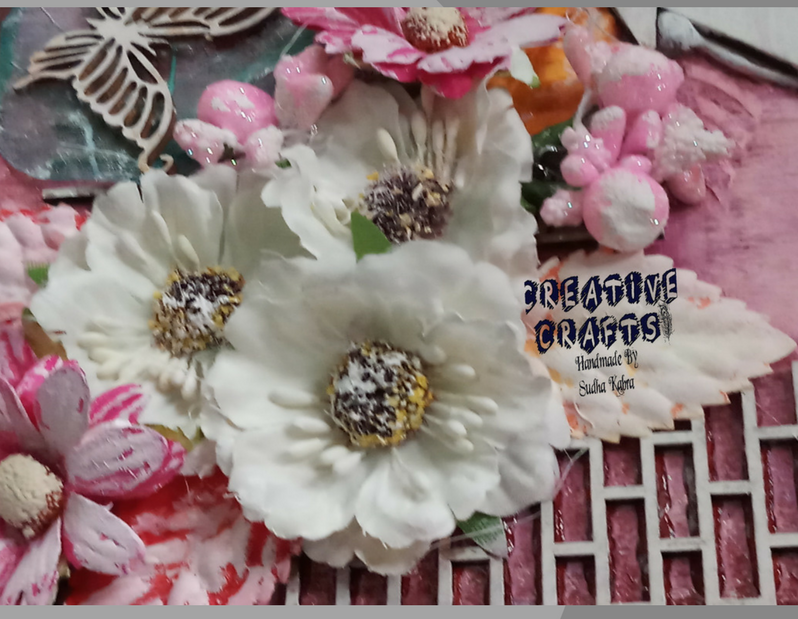
  • Now, the time has come to start with playing colors and keep on doing until you get the desired result!! Just have a look what I got after playing with different layers of colors and embossing paste for highlighting some corners of my art piece!!


Hope I have inspired you to create you something unique and different with this art!!
I am adding this art to the following challenges :


Friday, September 14, 2018

Mixed media altered box

Hi friends,
Hope all going well! 
I have created a mixed media altered wooden box and want to share with you complete process how I did this.. So here I am:

Here’s the steps to follow and make this altered box for personal or gifting purpose:

Materials Required:

#Gesso

#Texture paste

#Chalk Paints

#Pearl metallic Gold colour

#Distress Spray

#Colour Splash spray

#Glue Gun

#Stencil

#Wooden embellishments

#Flowers

#Sentiments

Let’s begin now when we have everything on place!

Step.1: To begin with coat the box completely with gesso. Gesso plays the main role in the mixed media technique as it works as the primer. After doing gesso coat, let it dry and in case you want to dry it quicker, heat tool becomes the best option.


Step.2: After gesso coat is dried, start adding texture with the use of stencil and texture paste. Again, wait for it to dry completely.


Step.3: Let’s begin with the colour part… for this you may use the sailing sky chalk paint. Coat the box with dry brush over the texture part and complete colour at the other part of the box. Inside the box, you may leave it as it is or you can prefer to colour the same.


Step.4: Assemble all the decorative to be added on the top of the box. Then, stick all of them in the way you prefer with the help of glue gun as its totally up to you to unleash your creativity and bring out the best. Glue gun is best option for sticking things instantly.


Step.5: Apply another coat of gesso on the complete arrangement and let it dry completely. Now comes the most interesting part and that is spraying the entire arrangement with the colour splash and distress spray. Apply as shown in images and let it dry.


Step.6: For the final touch-up, dry brush here and there with pearl metallic gold colour!!


See!! What comes in front of you after completion of all the steps!! Hope you all liked the tutorial and will sure love to try making this art…

Waiting for your valuable responses…

Paper box with vellum flowers

Hello friends,
Today I am feeling really wonderful to share with you one of the my favorite projects created by me -  A paper box with handmade vellum flowers!! this box serves well the purpose of gifting your loved ones by keeping something special in it. So lets get make it more clear with some pics...
For making this box, I gathered all the required materials like cardstocks, vellum sheets, patterned paper, hearfelt creations classic rose stamps and the coordinated die, some die cuts, clear drops crystal, etc...
At the very first, I created these vellum flowers which I like the most. This I prepared simply by die cutting the flowers and then colored the layers with versa ink. After coloring, I heat embossed the embossing powder by adding them with the help of any pointed needle in the desired way. After embossing part that is done with the help of heat gun, I started shaping the layers of the flower just by pinching the petals one by one. Then I placed the layer one on the other by adding glue in the center and here is the result!!
To create the box, I took complete help from the video published by the fellow crafter online and after creating basic box, I started decorating the box in the desired manner. For that I started placing all the embellishments in the beautiful and appealing manner..
Hope you all like this post..
thanks for stopping by
Sudha

Tuesday, February 13, 2018

Glossy fridge magnet

Hi all,
Here I am back with my new creation... Yes GLOSSY FRIDGE MAGNET!!
I have tried here to create unique with stamping, decoupaging and finally adding resin to it...
Without spending too much time, Here comes few pictures of my creation....


Hope you all liked it... please leave ur valuable comments!!!

Tuesday, February 6, 2018

Quilled wall clock


Quilling!! Love to make this art... here are few glimpse of my latest creation of quilling - QUILLED WALL CLOCK!!

Friday, August 25, 2017

Altered Bottle

Hi folks,
I am here in front of you with my second post!! This time I decided to post something altered article and so I thought why not to prepare something artistic and charming with waste sauce bottle. Now, let's start with the post.
Firstly, I removed the label of the bottle by dipping it in the bucket of water for about half an hour and then the label will get off easily. I know it is seems fishy but many of us try to remove it with knife and other sharp item but all in vain!! After getting cleared bottle, coat it with gesso and let it dry. 
Then put some texture with texture paste using sponze. Let it dry!! After complete dry, move on to color part. For coloring the bottle, I used red acrylic paint and on the mouth of the bottle, I used pearl metallic gold.
Then comes decoration part, and for that, I decided to give it an elegant look. Burlap!! The first preference to enhance any of the project. I first wrap the bottom of the bottle with zig-zag designed burlap and then overlapped it with other plain and designed burlap lace. Also, on the mouth of the bottle, I wrapped the burlap string to give it a complete look.

Quilled flowers and other burlap flowers added perfect charm to the altered bottle and hence, here is the outcome in front of you!!
Hope you liked my project and please do leave your valuable comments....

Monday, July 3, 2017

Mixed Media layout with clock

Hi all,
I am so excited to publish my first post regarding my childhood passion and that is none other than CRAFT!! Though I have started my crafting life with the themes and projects running at the particular period of time and as the time passes by, it totally changed a lot! So, not taking too much time of your time, I come to my first post and it is marvellous mixed media layout..

Mixed media!! One of the superhit techniques of the present craft world and I am sure all of us are fond of this..Here is the short description of the project I made.. Before getting started have a glimpse of the project..

 Now, for this 12 by 12 layout, I have taken Shabby chic burlap sheet from Itsy Bitsy and created some texture on it using texture paste and stencil. After getting it completely dried, I sprayed color splash spray colors. Once the base got ready, I started placing my embellishments like clock dial, mulberry flowers, wooden chippies and handmade paper flowers...and also i have added another burlap sheet of 5 by 5 for pasting photo of your loved ones!!

After getting all assembled, final project comes in your hand!!

I hope you all liked my first post on this blog...

Supplies I used in this project are as follows:
  • Shabby Chic burlap and Color Splash Spray from ITSY BITSY
  • Wooden embellishments from THE CRAFT STUDIO
  • Mulberry flowers from CRAFTER'S CORNER
  • Other things used: doilies, texture paste, pollens, etc...